Find the account that can stop the charge
To cancel a subscription, first find who actually bills you, then cancel from that account and save the confirmation. The app you use and the company that charges you are not always the same. A subscription can be billed by Apple, Google Play, the service itself, a carrier, a bundle provider, or a family or work account.
- Check the receipt or card statement for the billing name.
- Open the matching account: Apple subscriptions, Google Play, the service website, or the provider named on the receipt.
- Follow the cancellation flow until it shows a cancellation confirmation or an end date.
- Save the confirmation email or take a screenshot of the final screen.
If you cannot find a cancel button, check a different account email, app store account, bundle provider, carrier, family organiser, or team admin before contacting support. The receipt is usually the best clue.
Deleting an app is not a reliable cancellation method. The recurring charge usually keeps renewing until the billing source confirms cancellation.
Match the receipt to the cancellation route
Use the billing name on the latest receipt, not only the app icon, to choose the next step.
- Apple receipt: use the Apple Account subscription list.
- Google Play receipt: use Google Play subscriptions.
- Provider receipt: sign in on that provider's website.
- PayPal, Amazon, carrier, or bundle receipt: use the account named on that receipt.
- Family, school, or work plan: ask the organiser or administrator who can change the plan.
If the name on a card statement looks unfamiliar, compare the amount and date with receipts before you cancel or dispute it. Payment processors and parent companies can appear instead of the product name.
Cancellation guides
Use the guide that matches the charge you are trying to stop:
- How to cancel Audible membership
- How to cancel Canva subscription
- How to cancel an Apple TV subscription
- How to cancel Adobe subscription
- How to cancel Rocket Money Premium
- How to cancel Netflix subscription
- How to cancel Spotify Premium subscription
- How to cancel Disney Plus subscription
- How to cancel YouTube Premium subscription
- How to cancel Amazon Prime subscription
- How to cancel Apple Music subscription
- How to cancel subscriptions on iPhone
If the service is not listed yet, the same pattern still helps: find the billing source, sign in to the right account, cancel from the billing page, and keep proof.
What to save after canceling
After a cancellation, write down:
- the service name
- the account email
- the cancellation date
- the final access date
- the billing source
- any confirmation number or email
- whether a refund or early-termination fee was shown
That record is useful if a charge appears later or if a family member, work account, or different app store account controls the subscription.
Check the final date, not just the button
Cancellation usually stops the next renewal. It may not end access immediately, and it does not always create a refund. Read the final screen for the access end date, any refund decision, and any charge already in progress. If the service says the subscription is canceled but you later see a charge, compare that charge with the saved confirmation before assuming the cancellation failed.
Make cancellation a calmer habit
Canceling one subscription is useful. Reviewing everything that renews is better.
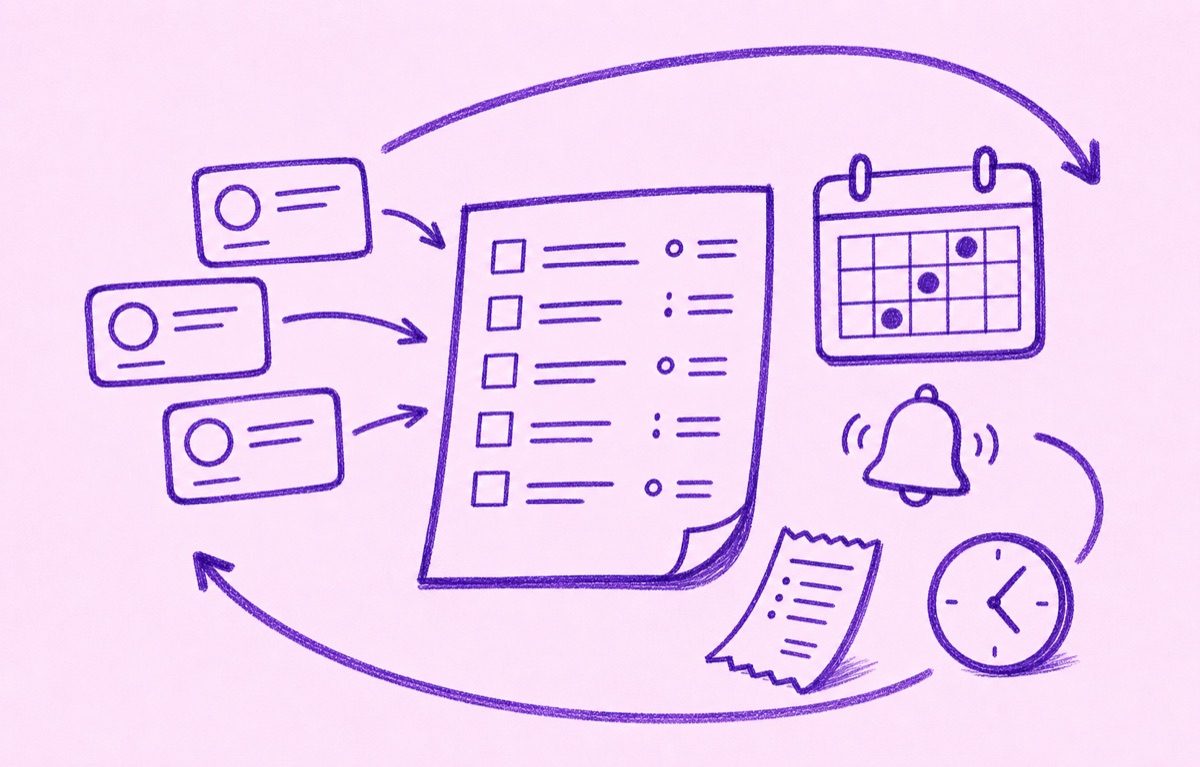
Orbit helps you keep subscriptions, trials, renewals, and regular bills visible on iPhone. Add what you want to keep, set reminders before trial endings and renewal dates, and review your list when something stops feeling worth it.
The goal is not to cancel everything. It is to stop being surprised by the things you meant to review.
For the ongoing system, read How to manage subscriptions, How to find forgotten subscriptions, and Subscription reminders.